Pinterest has become for me that "file folder" of projects or house ideas cut out of magazines. I used to do that -- actually take a scissors and cut the ideas I liked, and file them away into organized sections of an accordion file. Now it's all about pinning them to that virtual board. It IS so much more convenient, but I must admit a little part of me misses the relaxation of getting that file out and looking carefully at each project, thinking that I surely would make it some day. Anyhow -- I'm determined this year to make some of those projects I've pinned to my craft and sewing boards. I may try to do a different one each month! We'll see...
The first one completed is...
 |
| ...the Zest Tote Bag. |
This is a free
JoAnn fabrics pattern for the
Zest Tote Bag. This project went together easily, though I have a few suggestions to make it even easier. How about giving it a try? I don't always have long stretches of time to sew, and usually cut my fabric one evening, and take an evening or two to do the sewing.
 |
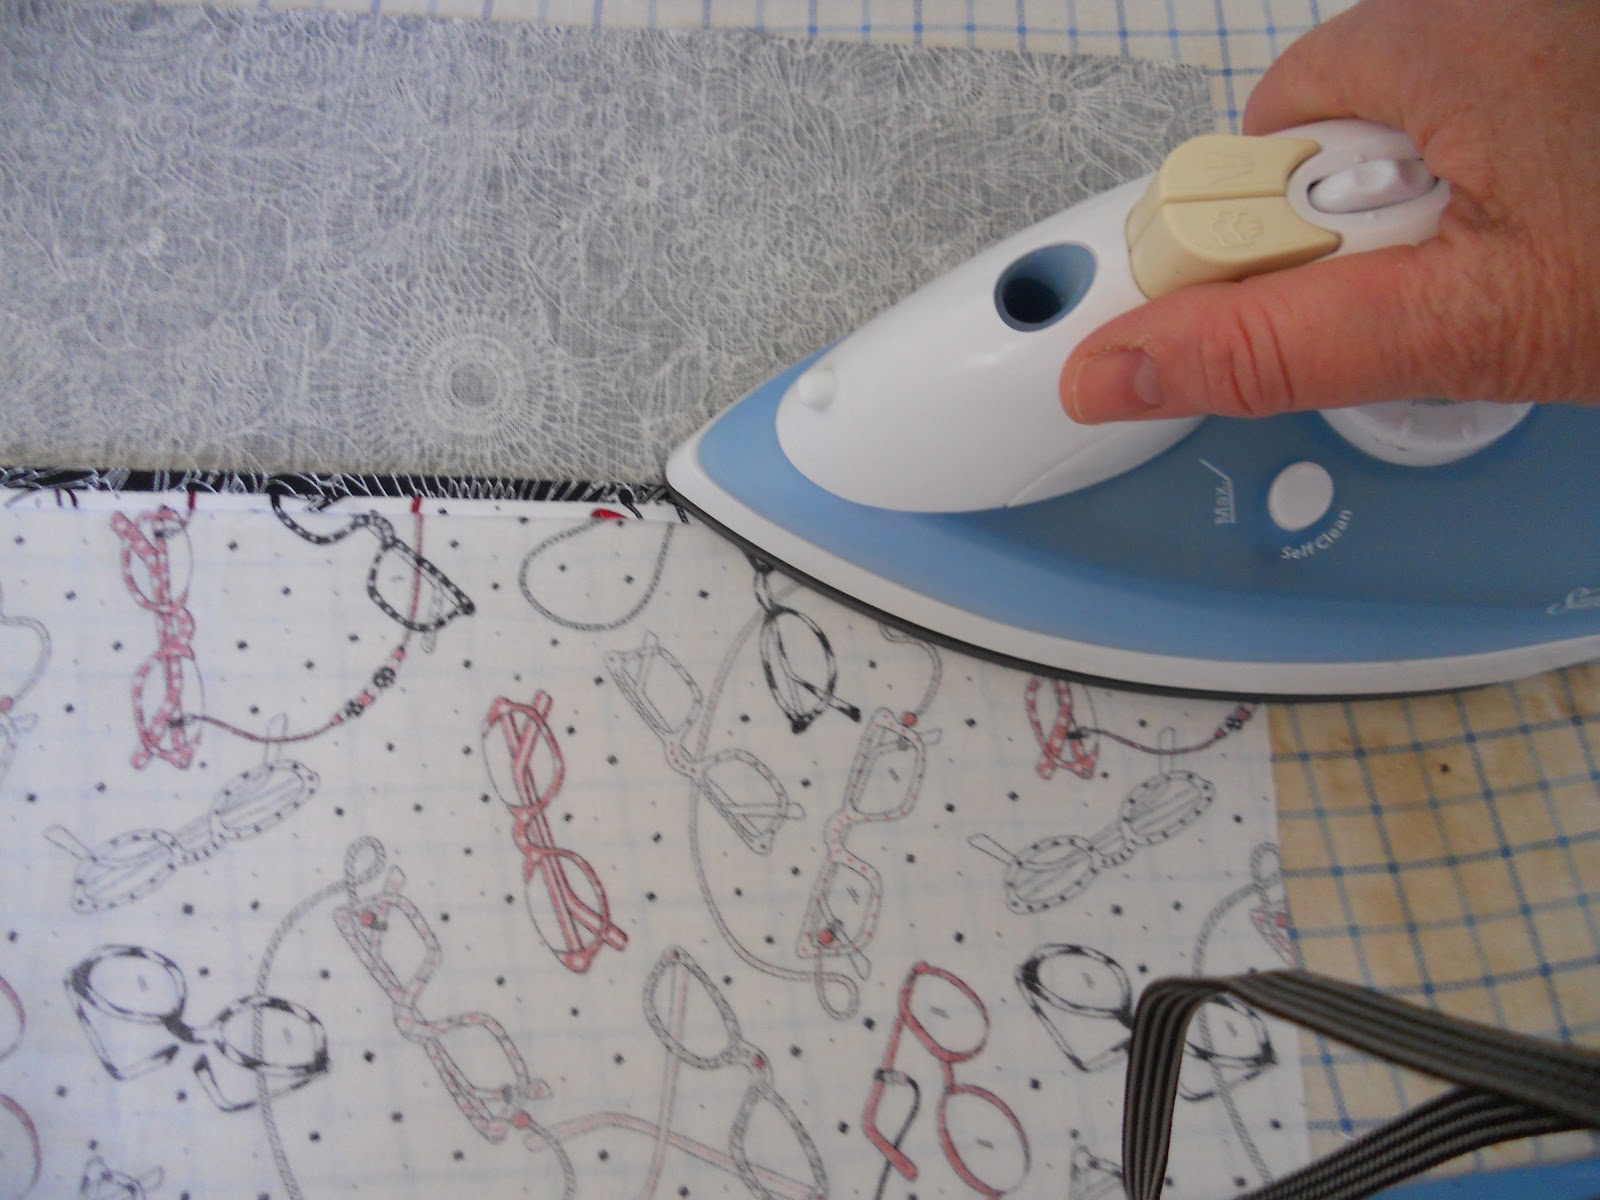
| The fabric -- a fun print I found at a local thrift shop, along with a black piece of Essex linen from the LaFemme collection by Melissa Crowley (Robert Kaufman fabrics). |
 |
| Are you new to sewing? When the pattern says to press the seam open... |
 |
| ...you do just that. Carefully open the seam with your fingers and press as you go. Don't get too close! ;) |
 |
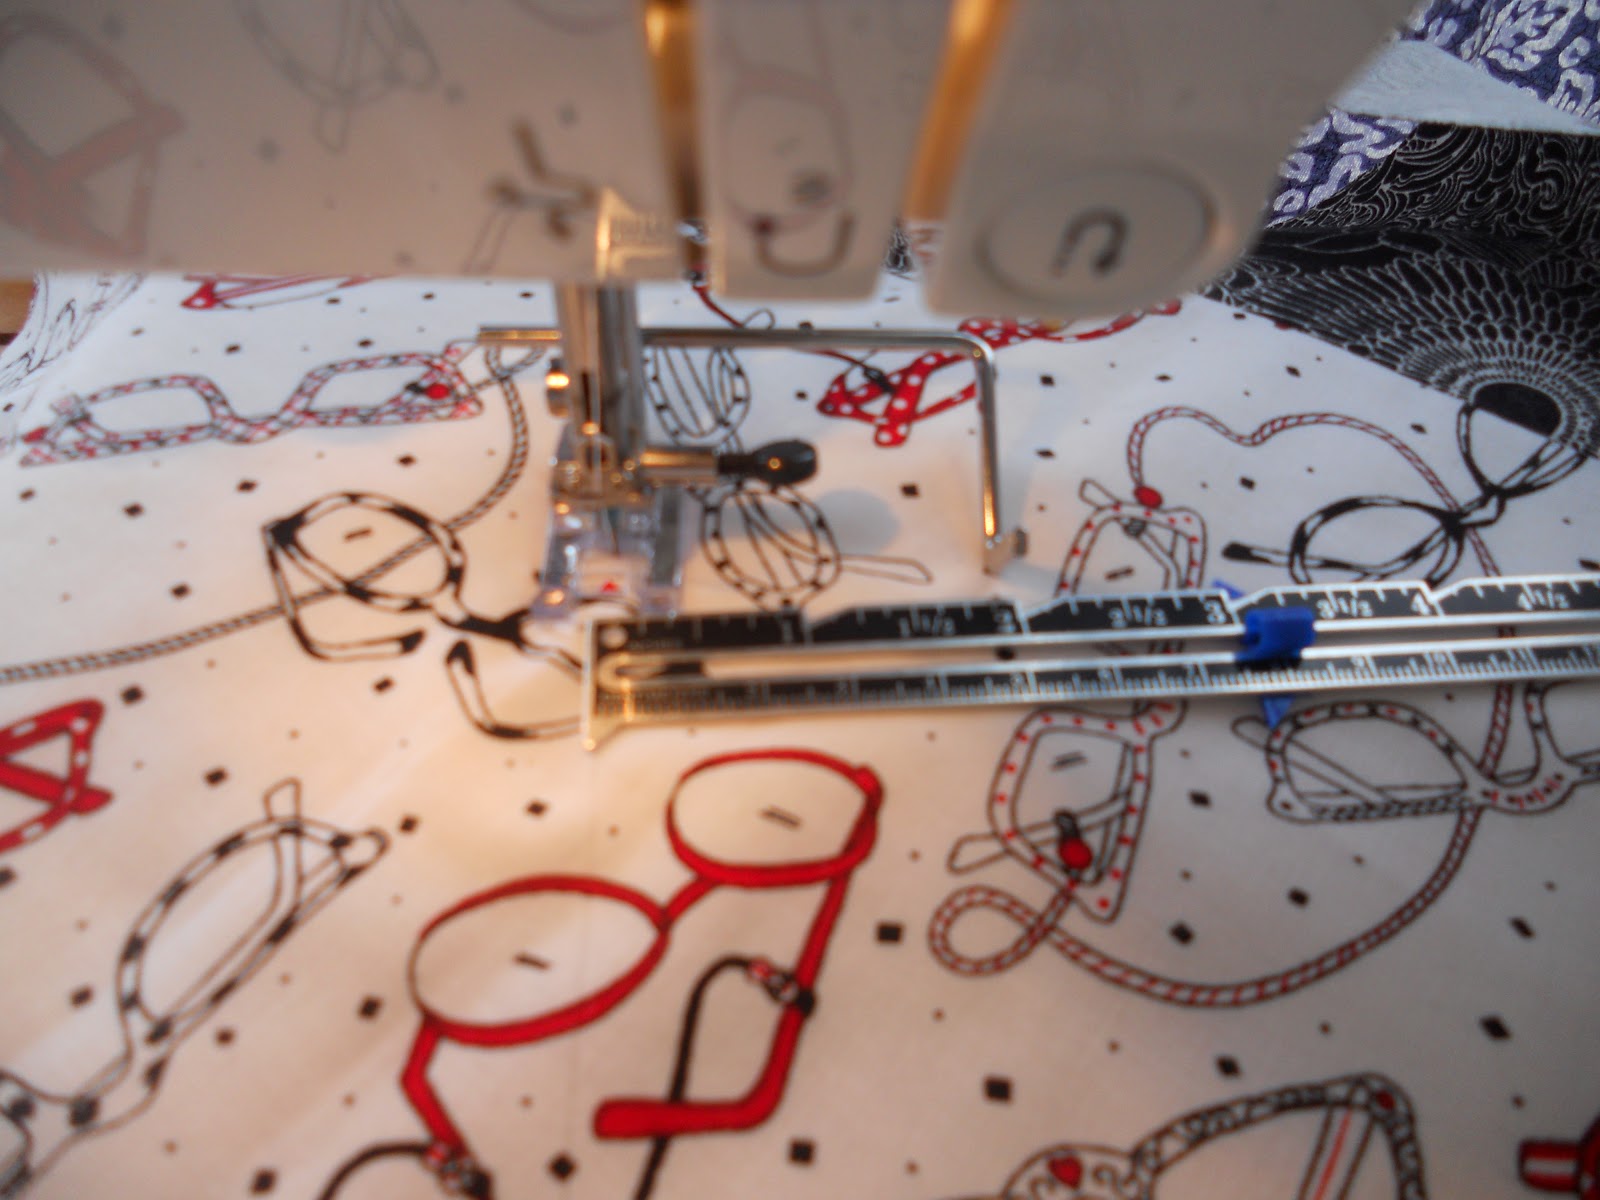
| This pattern instructs you to quilt your fabric, which then becomes the front and lining of the bag. This works great, but a quicker option would be to purchase a double-sided pre-quilted fabric. |
 |
| While the pattern suggests marking all the quilting lines, I just mark one diagonal going each way in the center of the fabric. If your machine has a quilt guide, just put it on and adjust it to the desired width. |
 |
| Now the quilting becomes quite easy. After sewing along those marked lines, you line up the guide with the previously stitched line, and off you go! One of these days I will get a Walking Foot, which I understand keeps the fabric from puckering as you quilt. Yes, yes, yes -- I need one of these! :) |
 |
| Your finished panel will look something like this (front)... |
 |
... or (lining side). You will do this twice -- once for the front bag piece, and again for the back. This took me about 17 minutes per side (with sips of coffee along the way)! In about 40 minutes you could have your basic bag ready to assemble. You're half way there!
|
 |
OK ... I'm still smiling! It really wasn't that bad. Enough is enough, though for one day! I'll show the rest tomorrow...or the next day...or...
|


No comments:
Post a Comment