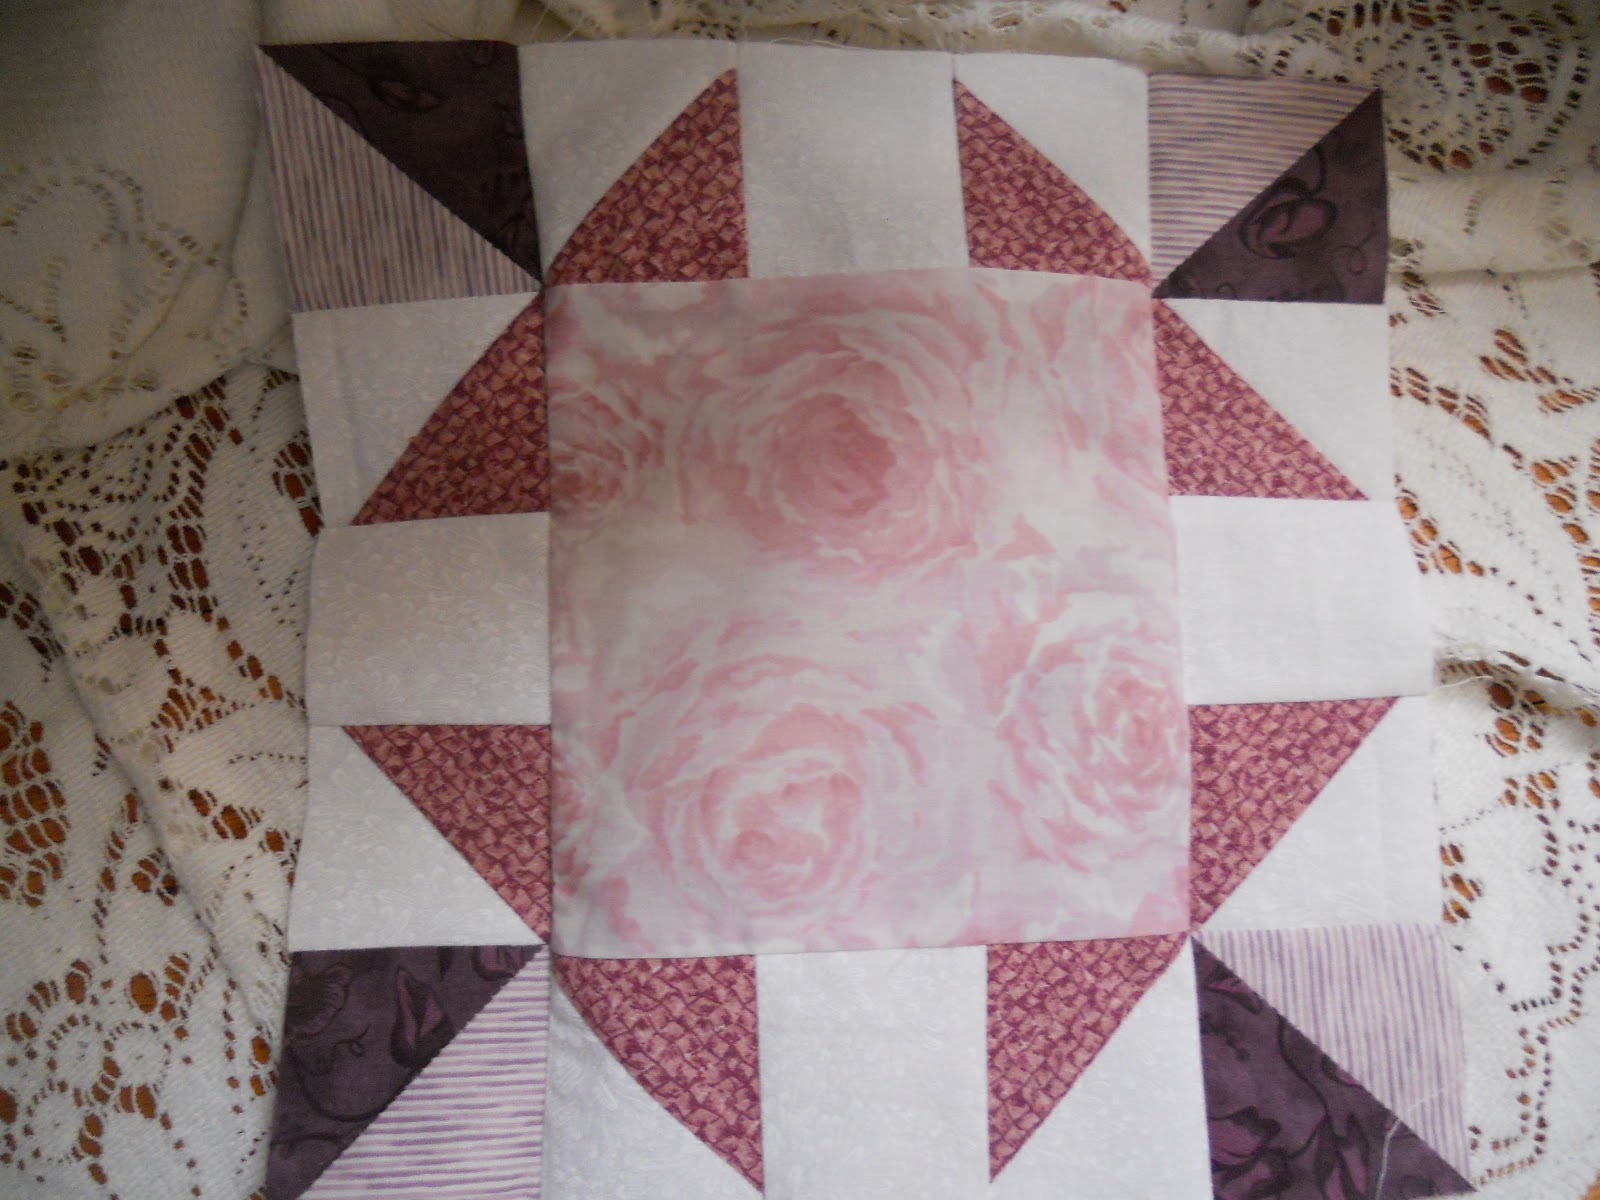
Sunday, January 27, 2013

Grandmother's Frame

This year I've decided to join the Sister's Ten Modern Block of the Month Club.  The quilt theme is centered around your favorite women -- sisters, Grandmother, Mother, friend, etc. The January block is called Grandmother's Frame.  Originally I had decided to use up scraps of fabric I already had, and for this first block that is what I've done.  In the meantime, I've found a beautiful line of fabric in blue and am awaiting its arrival.  I think I'll be making two quilts as I go along!
Grandmother's Frame
Recently I won a give-away from SillyMama Quilts.  This is the very fun package of goodies I received.  More fun ahead!


Thursday, January 24, 2013

Fabric Roses

Today is a snow day!  When my boys were young and in school we loved snow days.  My kids are grown and living elsewhere, but I still love having a snow day.  On this snowy morning I'm bringing out some flowers that I "grew" this week.  The pattern is from Joel Dewberry's book, Sewn Spaces.  

The project beginnings ...

Half way there ...
On the first flower I followed the scallop pattern provided. On this one, however, I tried a free-hand scallop. It was much easier for me, and gave it a "unique" edge.  The end project is basically the same.
Now for the finished product -- three flowers in three vases!  Which one do you like best?


Wednesday, January 16, 2013

Across the Pond Sew-along

January seemed like the right time for me to join in on a new sew-along.  Several friends that I "met" through the Zakka sew-along started one called Across the Pond.  You can check out each of these links to read about. http://www.eamylove.blogspot.com/2013/01/a-little-birdie.html http://thepatchsmith.blogspot.co.uk/2013/01/tweet-start-to-2013.html. If you are inspired by beautiful sewing projects, you will enjoy each of these sites!  Across the Pond sew-along features a monthly project, which is then blogged about and/or posted at Flickr.  Check out the Across the Pond Flickr photo pool here. 

Introducing my addition to this month's project -- or should I say flock!
Bird pincushion designed by Joel Dewberry.

My birds seeing how they look with the "originals!"
The birds were a quick and easy sewing project.   I'm already looking forward to next month's project.

Monday, January 14, 2013

Zest Tote bag - Part II

Welcome back to the Sewing Nook!  Remember the project we started last week?  The Zest Tote Bag project started here, and today we will zip through the assembly stage.


After sewing on the top band, the instructions tell you to stitch in the ditch!
What?? You mean I need to find a ditch to sit in and start stitching???  Thank goodness that is not what it means!  "Stitch in the ditch" is a quilting term for quilting right where two seams meet.  The photo above shows stitching in the ditch along the band and bag body.  You will do this on both pieces.


At this point you will want to sew a zig zag stitch along the outside edge.  Since this seam will show on the inside of your bag it will protect the seams from fraying, or "fluff" coming out from the batting! :)  Sew the front and back pieces together and you have a simple bag!  Now for the finishing touches...
After sewing bag together you will fold the band to the inside and stitch along the seam line.
You will find this a much easier task if you make your sewing surface a little smaller.  Do this by removing the front part of your machine.  It usually just slides off.
In this way it is quite easy to make that a nice smooth stitch.
When the instructions tell you to "box the corner" or fold the corners diagonally matching side seams, it will look like this.  It's a bit tricky the first few times you do it, but don't skip this step.  It definitely adds more "holding room" in your tote.


Stitch across like this on each bag corner.


The handles are the last step.  The project pattern instructs you to line the handles up with the bottom band edge.  I did not want the ends to show on the inside of mine, so lined them up with the handles going toward the bottom of the bag. After stitching along the seam line I turned the handles up and stitched again along the bottom band seam, and did a top stitch along the top band to hold the handles in place.
Well ... that's it!  The Zest Tote bag is complete!  Up next will be a project from the Across the Pond Sew-Along, a monthly sew-along I am joining in on.  January's project has already "taken flight!"  Watch for my version coming up next!  :)

Wednesday, January 9, 2013

Pinterest Board Projects

Pinterest has become for me that "file folder" of projects or house ideas cut out of magazines.  I used to do that -- actually take a scissors and cut the ideas I liked, and file them away into organized sections of an accordion file.  Now it's all about pinning them to that virtual board.  It IS so much more convenient, but I must admit a little part of me misses the relaxation of getting that file out and looking carefully at each project, thinking that I surely would make it some day.  Anyhow -- I'm determined this year to make some of those projects I've pinned to my craft and sewing boards.  I may try to do a different one each month!  We'll see...

The first one completed is...
...the Zest Tote Bag.

This is a free JoAnn fabrics pattern for the Zest Tote Bag.  This project went together easily, though I have a few suggestions to make it even easier.  How about giving it a try?  I don't always have long stretches of time to sew, and usually cut my fabric one evening, and take an evening or two to do the sewing.
The fabric -- a fun print I found at a local thrift shop, along with a black piece of Essex linen from the LaFemme collection by Melissa Crowley (Robert Kaufman fabrics).  


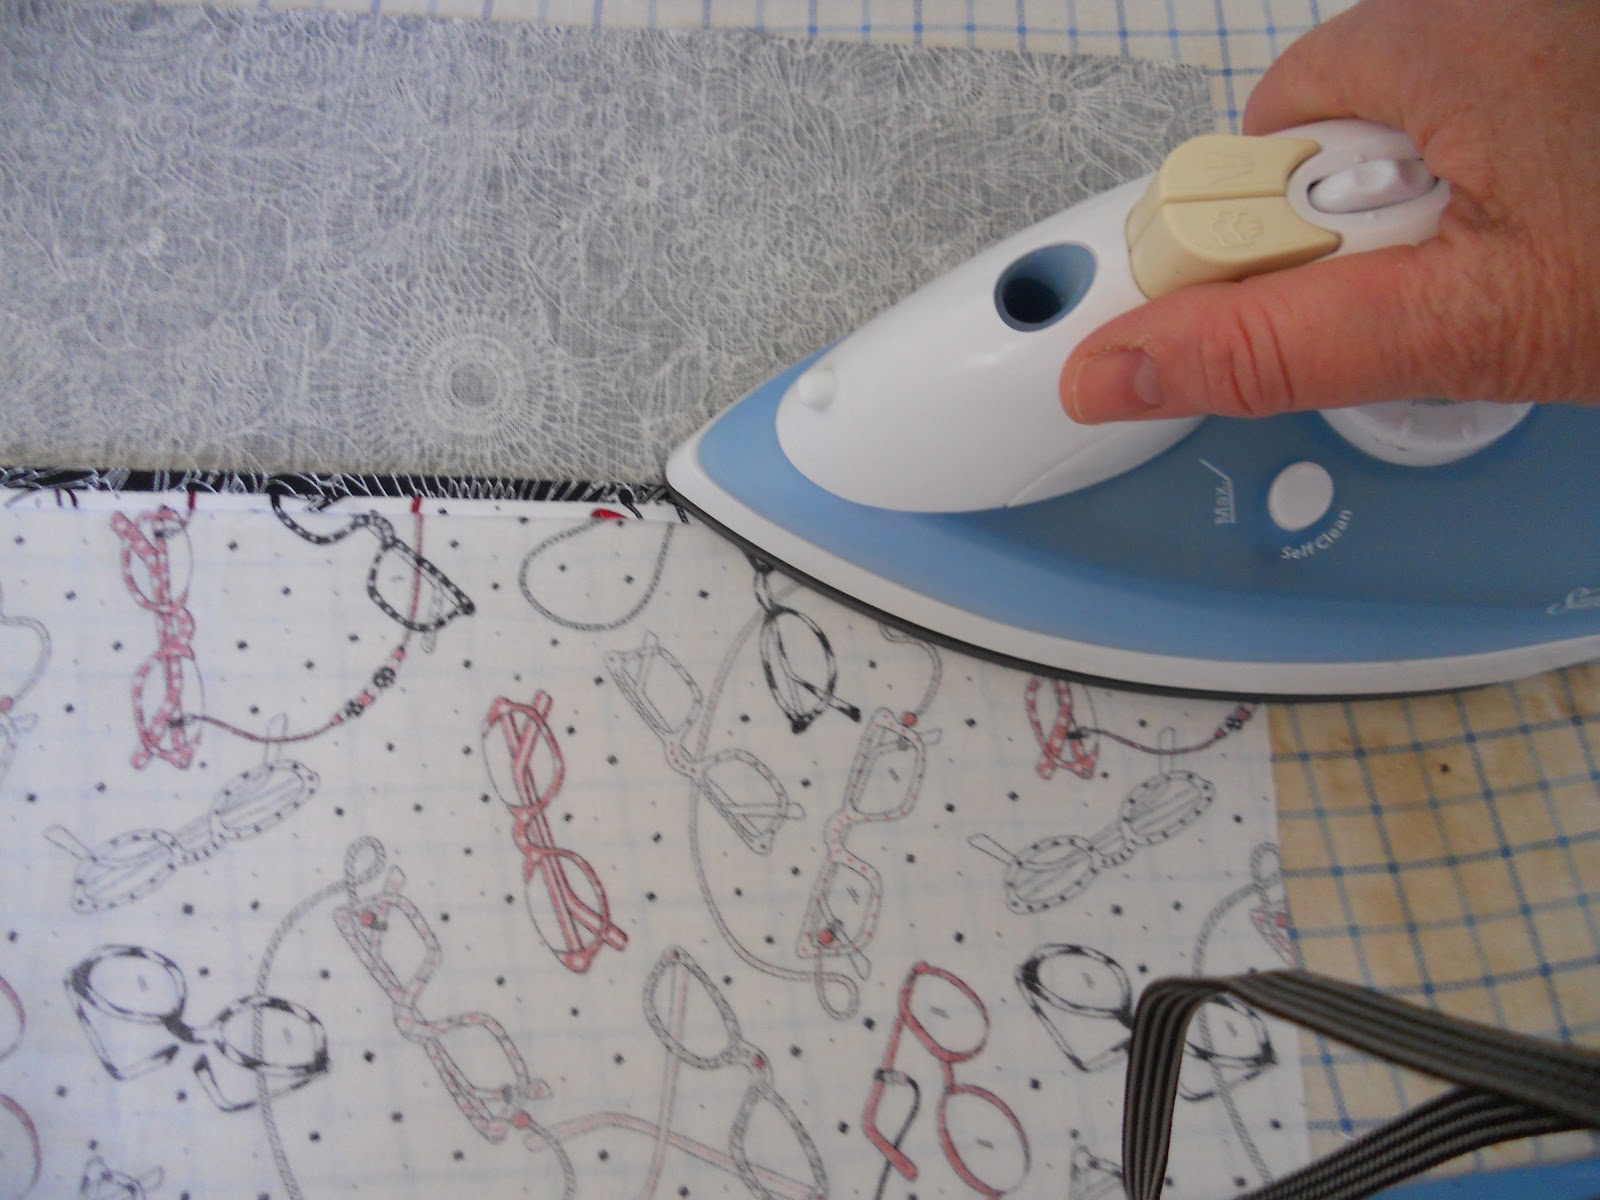
Are you new to sewing?  When the pattern says to press the seam open...

...you do just that.  Carefully open the seam with your fingers and press as you go.  Don't get too close! ;)

This pattern instructs you to quilt your  fabric, which then becomes the front and lining of the bag.  This works great, but a quicker option would be to purchase a double-sided pre-quilted fabric.  

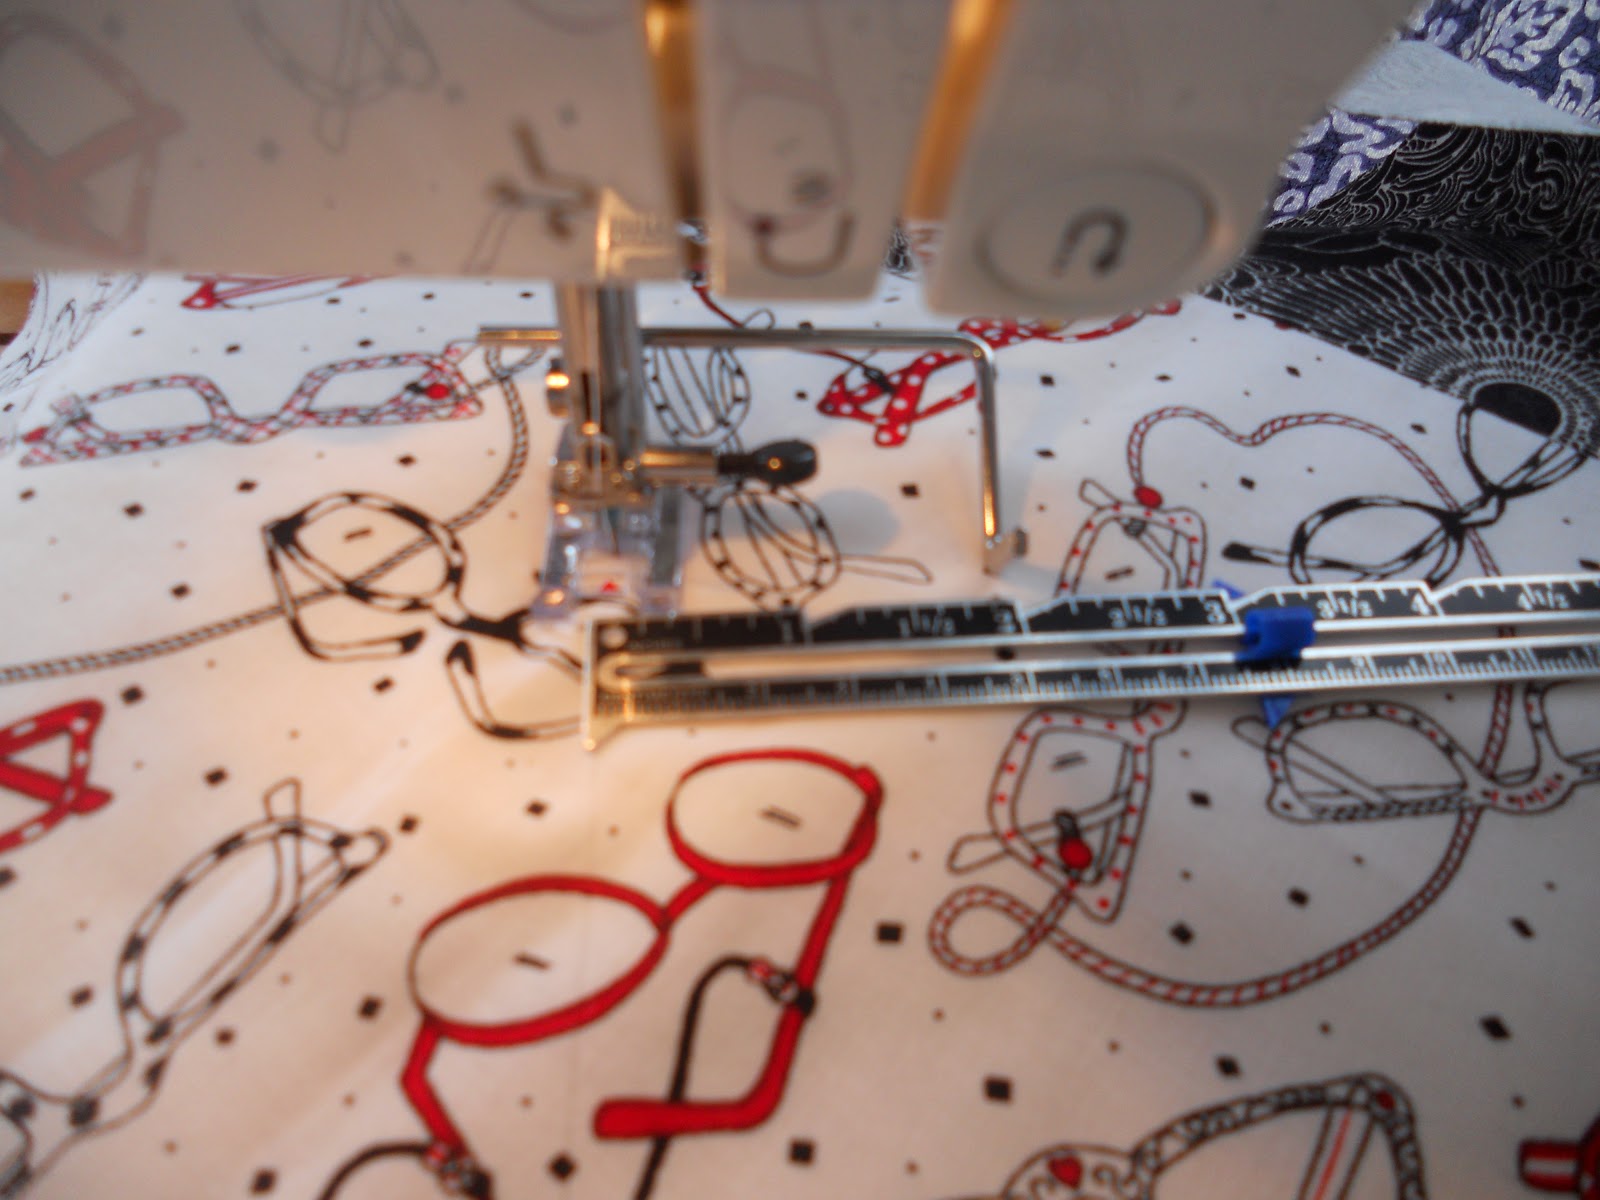
While the pattern suggests marking all the quilting lines, I just mark one diagonal going each way in the center of the fabric.  If your machine has a quilt guide, just put it on and adjust it to the desired width.

Now the quilting becomes quite easy.  After sewing along those marked lines, you line up the guide with the previously stitched line, and off you go!  One of these days I will get a Walking Foot, which I understand keeps the fabric from puckering as you quilt.  Yes, yes, yes -- I need one of these! :)

Your finished panel will look something like this (front)...
... or (lining side).  You will do this twice -- once for the front bag piece, and again for the back.  This took me about 17 minutes per side (with sips of coffee along the way)!  In about 40 minutes you could have your basic bag ready to assemble.  You're half way there!

OK ... I'm still smiling!  It really wasn't that bad.  Enough is enough, though for one day!  I'll show the rest tomorrow...or the next day...or...


Wednesday, January 2, 2013

I can do this!

Tomorrow it's back to school for me!  Every morning at school a group of 4 boys comes to my room to say good morning, and to say, "I can do this!"  "What can you do?," I ask them.  Their responses vary from I can "do good" on spelling to I can be a better reader, or just plain 'ol, "I can do THIS."  This holiday has been a wonderful, restful, fun, renewing time.  After being able to sleep a bit longer in the mornings, and not follow a schedule, I'm having to tell myself, "I can do this!"  So ... one last peek at some of those Christmas projects.  Then it will be on to new things.

A quick but fun project this season was to make a few hanging hand towels.  The tutorial for this can be found here.

 And last, but not least is this little cutie.  Check out this site for the pattern for this and other forest friends.